In today's digital age, sharing images and pictures has become a part of our daily lives. However, large file sizes can be a barrier to easy sharing, especially when dealing with bandwidth limitations or platform restrictions.
See Also: 9 Best Free Voice Recorder Apps for Android (2024)
Reducing the file size of an image or picture, without significantly compromising its quality, can be crucial. In this article, we'll explore several methods to Reduce the File Size of an Image, catering to both beginners and more experienced users.
Why Reduce Image File Size?
- Faster Uploads and Downloads: Smaller files transfer more quickly.
- Email and Social Media Limitations: Many platforms have size limits for uploads.
- Web Performance: Smaller images load faster, improving website speed.
- Storage Space: Saving space on your device or cloud storage.
Method 1: Use Online Tools

Online tools offer a convenient way to reduce image file sizes without needing to install software. Websites like TinyPNG, Compress JPEG, and ImageResize are user-friendly and effective.
Steps:
- Choose an Online Tool: Visit a website like TinyPNG (for PNG files) or Compress JPEG (for JPEG files).
- Upload Your Image: Click the upload area or drag and drop your image file.
- Compression: The tool automatically reduces the file size.
- Download: Download the compressed image to your device.
Method 2: Use Built-in Software
On Windows:
- Paint:

- Open the image with Paint.
- Click on "Resize" and choose by percentage or pixels.
- After resizing, click on "File" > "Save as" and choose a format. JPEG is typically smaller than PNG.
On Mac:
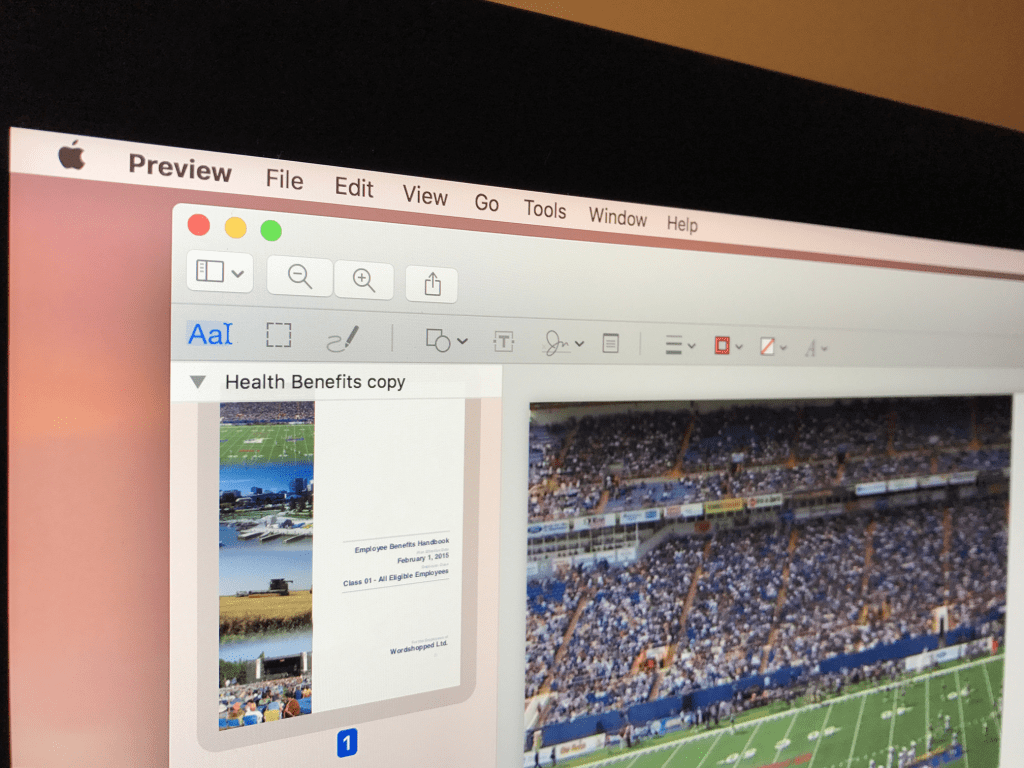
- Preview:

- Open the image in Preview.
- Select "Tools" > "Adjust Size".
- Adjust the resolution or dimensions as needed.
- Save the file, choosing a lower quality if prompted for JPEGs.
Method 3: Use Image Editing Software
Programs like Adobe Photoshop or GIMP are powerful tools for more advanced users.
Photoshop:

- Open your image in Photoshop.
- Choose "File" > "Export" > "Save for Web (Legacy)".
- Adjust the quality slider and select a format. JPEG is good for photos, while PNG is better for images with transparency.
- Click "Save" and choose a location.
GIMP:

- Open your image in GIMP.
- Select "File" > "Export As".
- Choose your file format, and then click "Export".
- Adjust the quality slider for JPEGs, or choose compression level for PNGs.
Method 4: Change Image Dimensions
Reducing the dimensions of an image can significantly decrease its file size. Use any of the above tools or software to resize the image to your desired dimensions. Remember, smaller dimensions mean less detail, so find a balance that works for your needs.
Method 5: Batch Processing
If you have multiple images, consider using software that supports batch processing like IrfanView (Windows) or ImageOptim (Mac). These tools allow you to reduce the file size of many images at once, saving time and effort.
Tips for Reducing File Size Without Losing Quality
- Choose the Right Format: JPEG for photos, PNG for graphics with transparency, and WebP for a good balance between quality and size.
- Adjust Quality Settings: Lower the quality just enough that the loss is not perceptible to the naked eye.
- Consider the Use Case: Smaller dimensions for web use, higher for print.
Reducing image file size doesn't have to mean losing out on quality. By understanding the tools and techniques available, you can ensure your images are ready for whatever platform or purpose you need them for. Whether you're a beginner or an experienced user, there's a method that can work for you.


